





















A crash can turn an ordinary drive into a blur of adrenaline, noise, and competing memories. Even a low-speed collision can leave important details scattered across lanes, bumpers, dashboards, and paperwork before tow trucks, rain, traffic, or repairs change the scene. Clear photos help preserve what happened while it is still visible and easier to explain. These 19 things to photograph immediately after a car accident can support an insurance claim, help clarify fault, and create a more reliable record for police, adjusters, repair shops, or legal professionals. Safety comes first, but once everyone is out of immediate danger, a careful photo record can make the next steps far less confusing.
Wide Shots of the Entire Scene
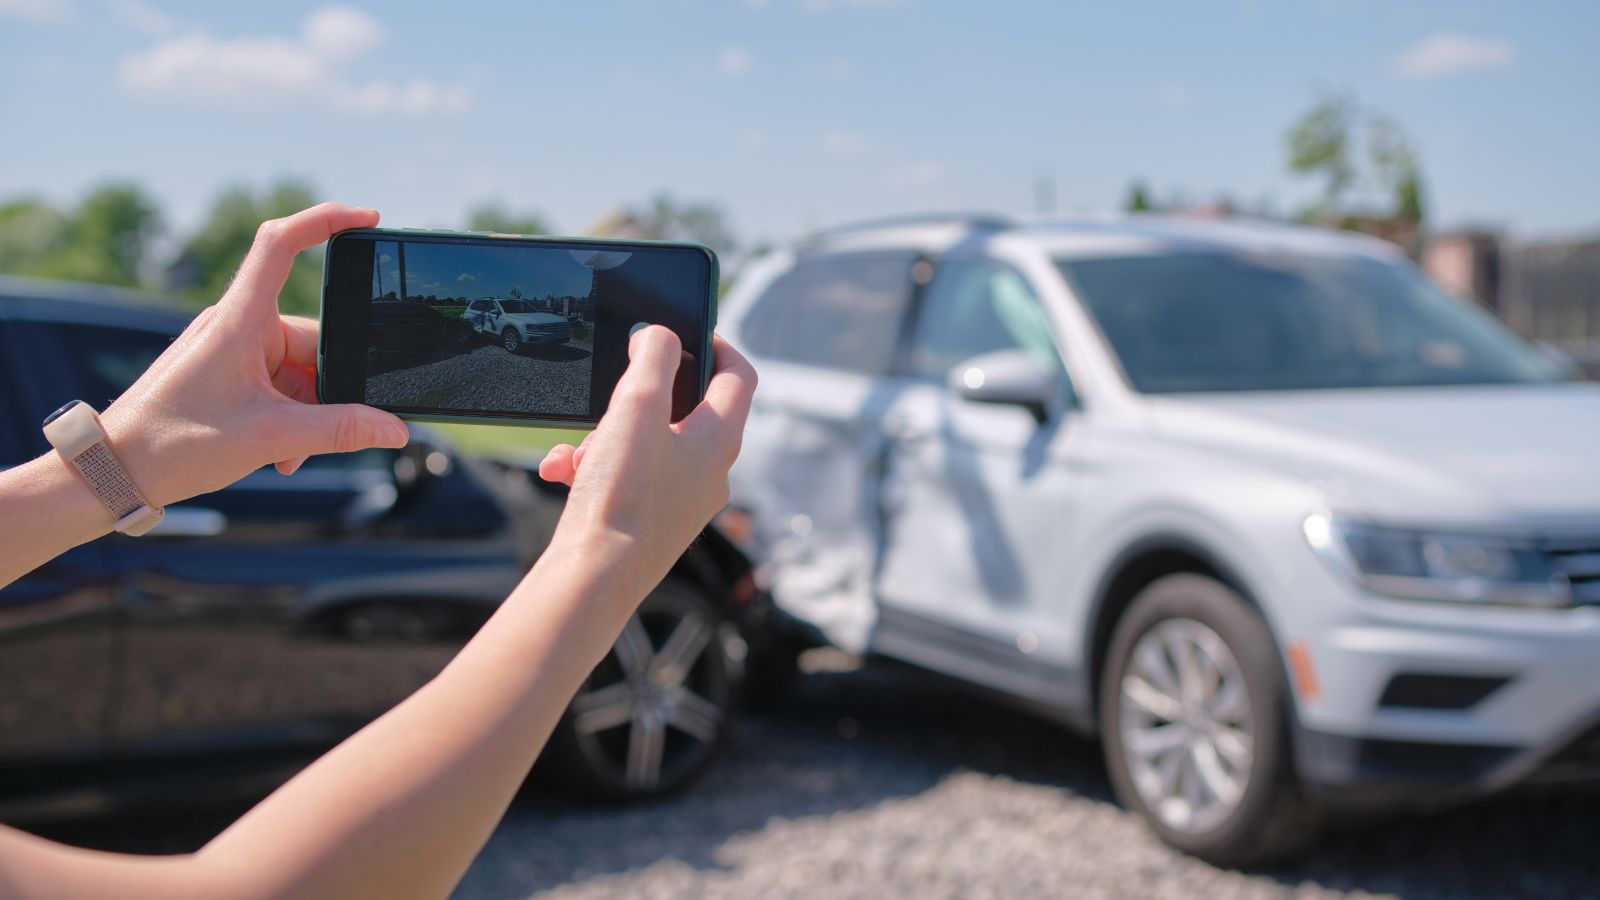
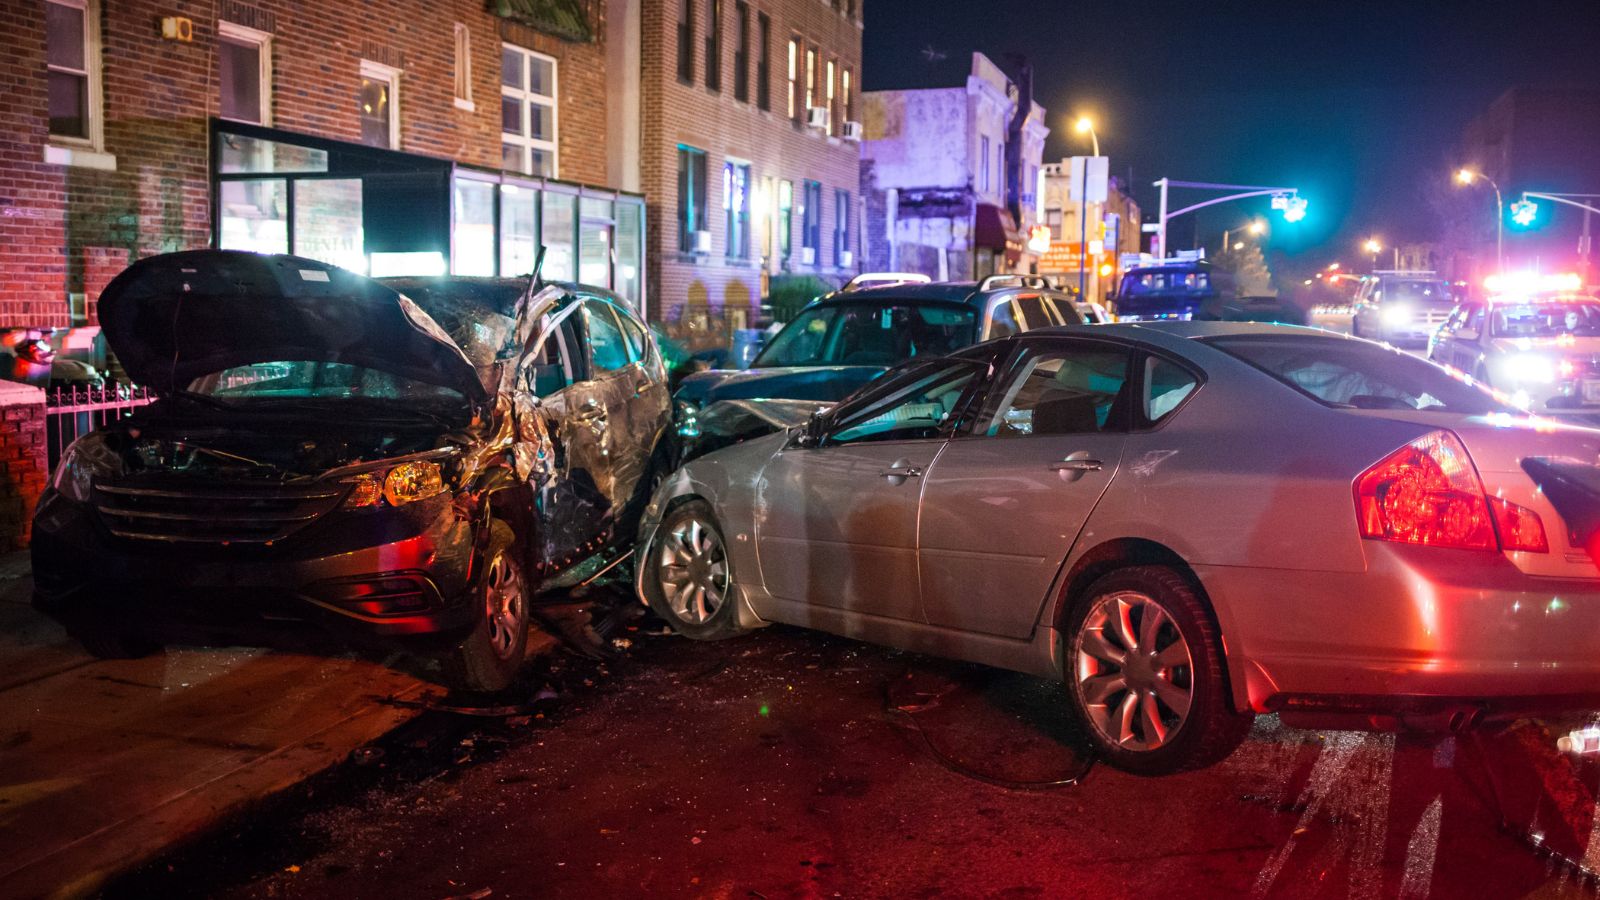
The first useful photos are wide shots that show the whole crash area from several angles. These images should include every vehicle involved, nearby lanes, shoulders, sidewalks, intersections, traffic controls, and any surrounding landmarks. A close-up of a dent may prove damage, but a wide shot explains context. For example, a rear-end crash at a busy intersection may look different if the photo also shows a stopped line of traffic, a crosswalk, and a left-turn lane.
Drivers often move cars quickly to reduce danger, which is sometimes the right safety decision. That makes wide photos especially valuable before the scene changes. A few seconds of careful framing can preserve where the vehicles came to rest, how close they were to curbs or medians, and whether the collision blocked traffic. The goal is not artistic photography; it is a clear, truthful view of the scene.
Vehicle Positions Before Anything Moves
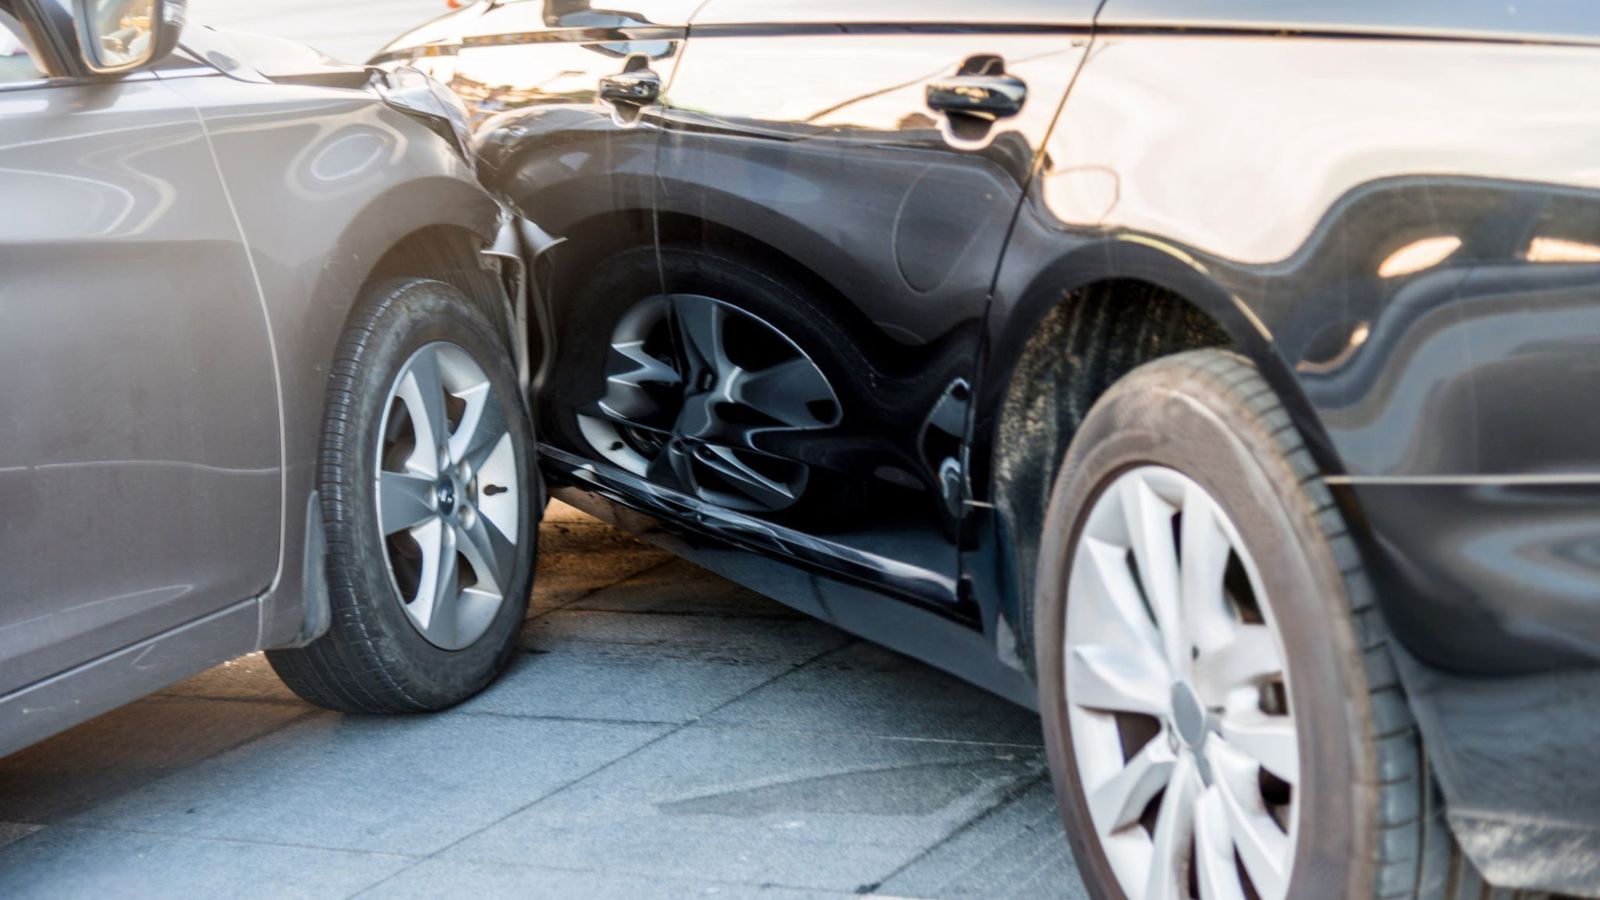
Vehicle positions can become one of the most important details in a disputed claim. Before any vehicle is moved, photograph where each one stopped, the direction it is facing, and its position within the lane. Include enough roadway around each vehicle to show whether it is centered, angled, partly over a line, or sitting on the shoulder. In a sideswipe, for instance, lane placement may matter as much as the scrape itself.
These photos can help explain the sequence of events after memories begin to shift. A driver may later remember stopping straight in a lane, while a photo shows the vehicle angled across a merge area. If emergency responders instruct vehicles to move, safety and instructions come first. Still, even one quick wide-angle image taken from a safe position can help preserve the original resting positions before the scene is cleared.
Close-Ups of Damage on Your Vehicle
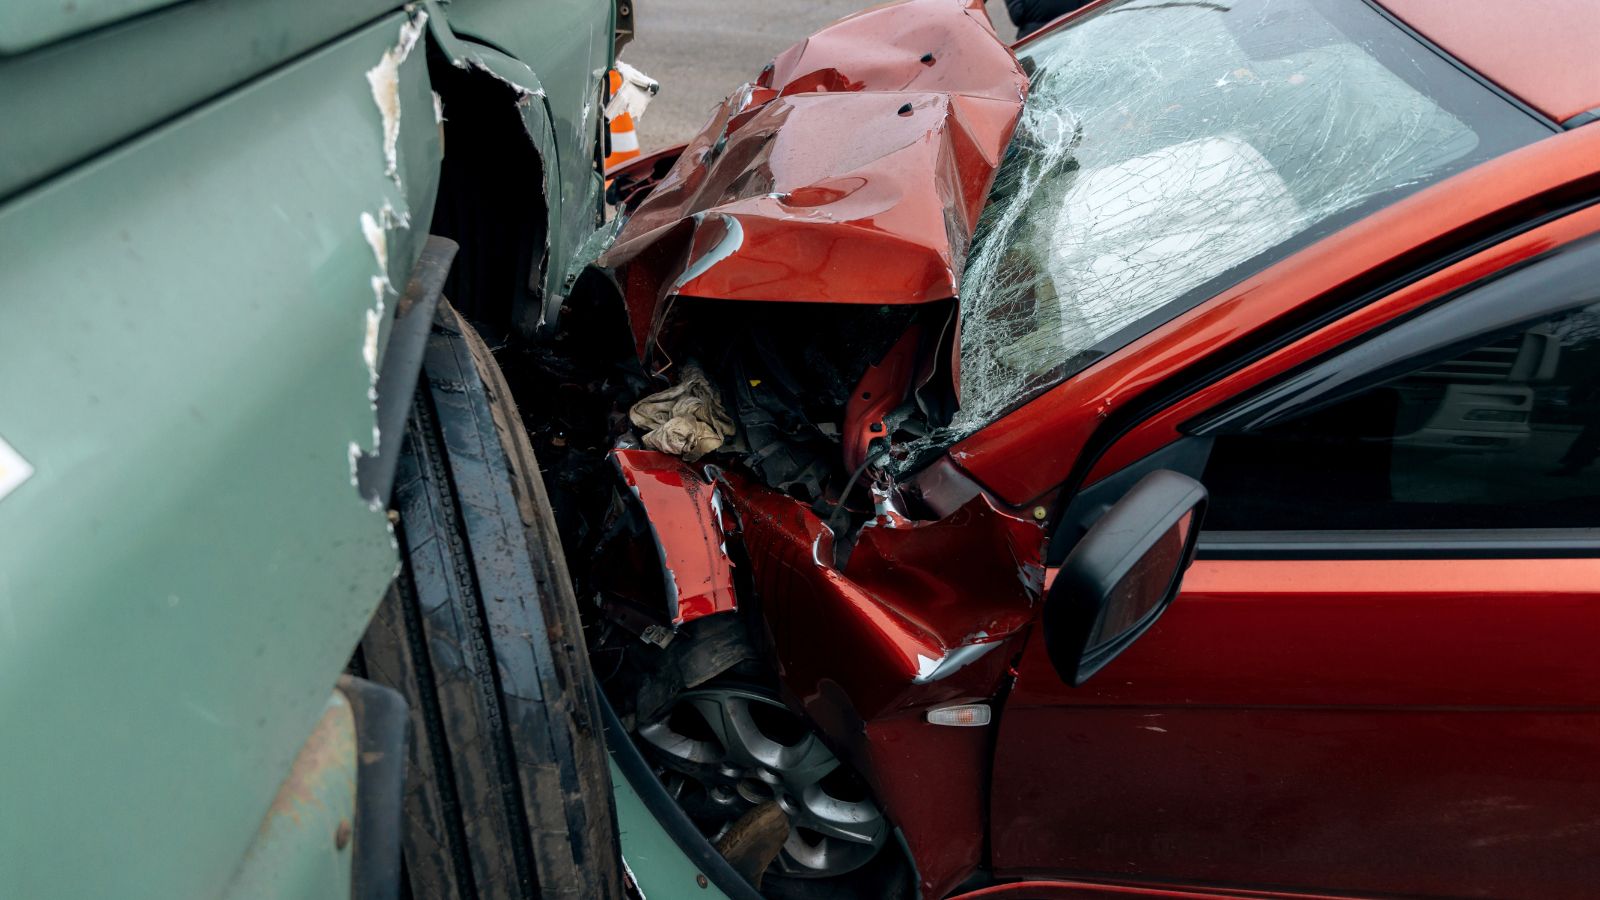
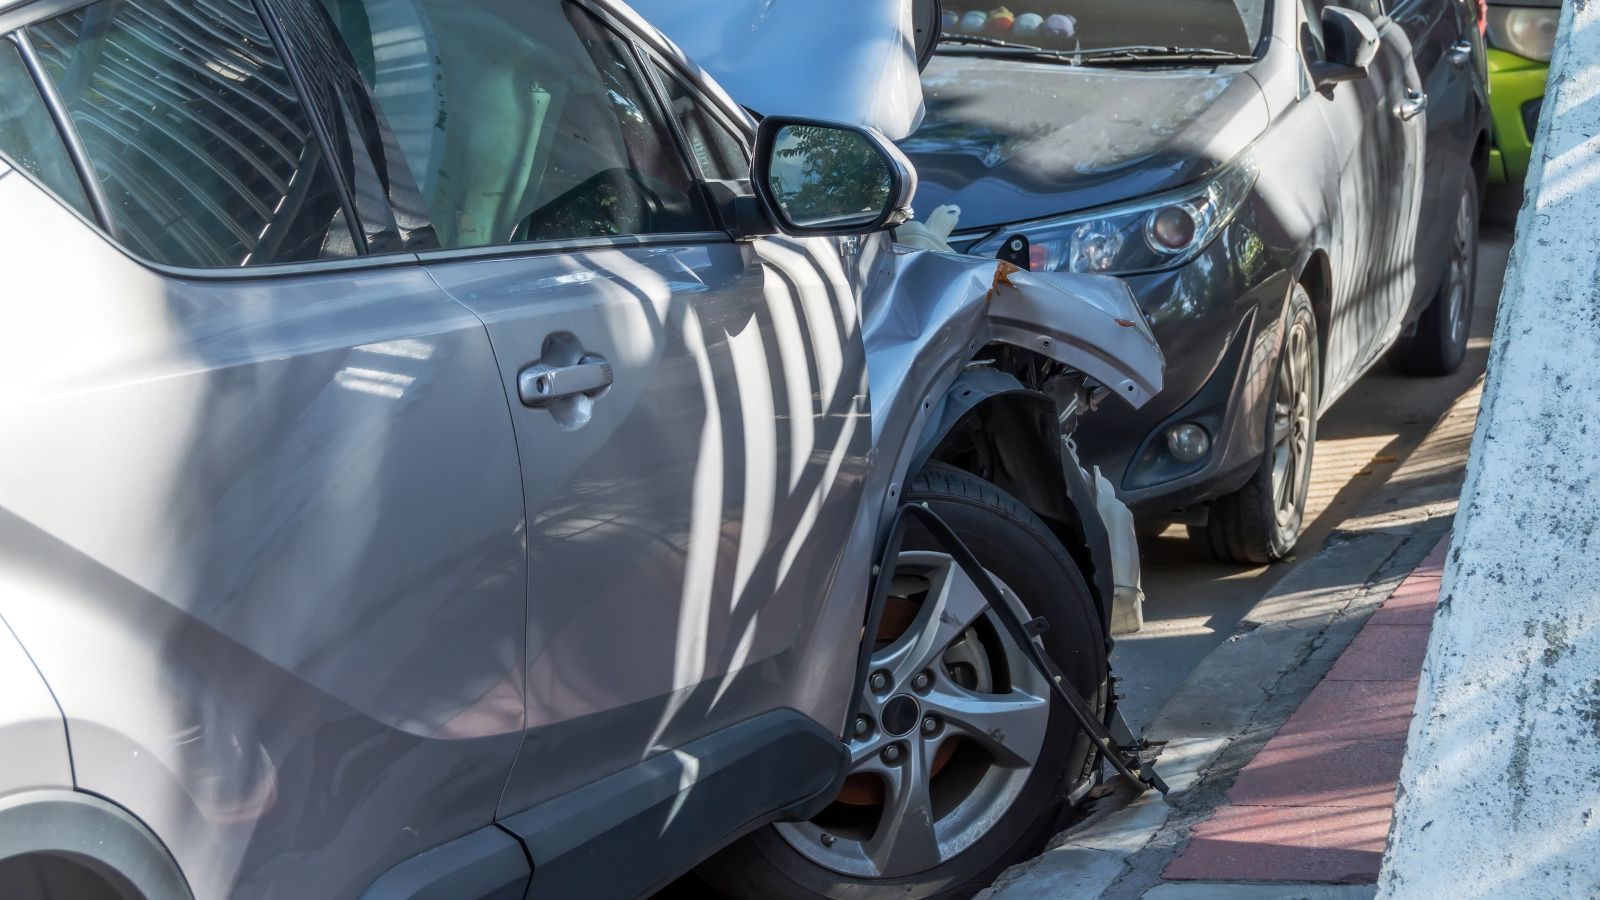
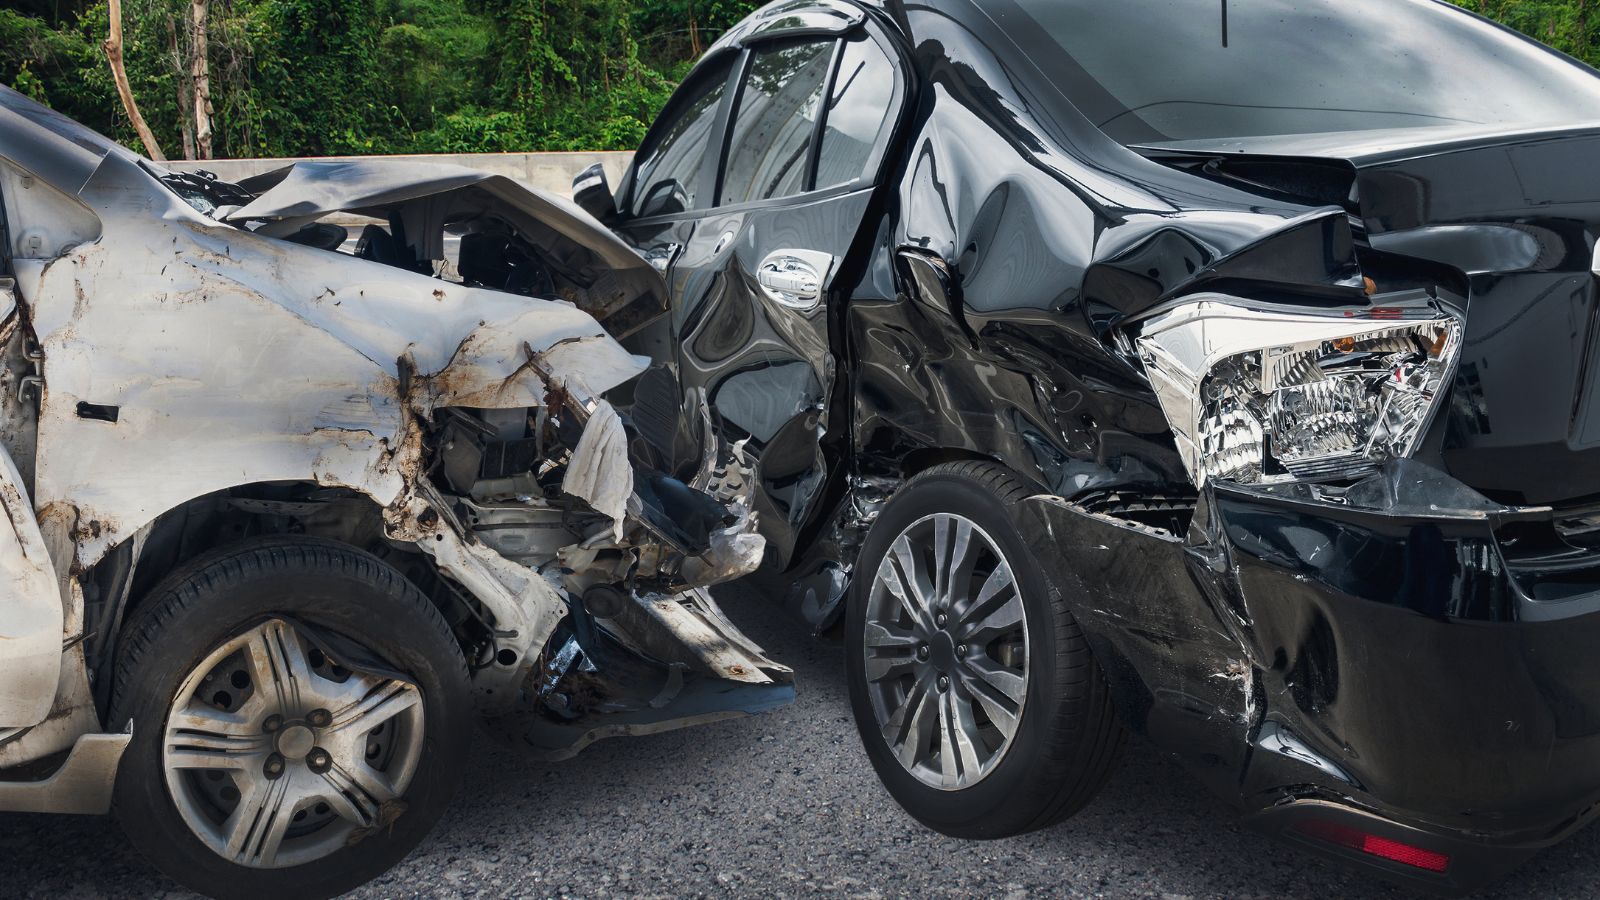
Damage photos should include both close-up and medium-distance views. Close-ups show scratches, cracks, broken lamps, buckled panels, torn bumpers, deployed sensors, bent wheels, or damaged trim. Medium-distance shots connect that damage to the part of the vehicle where it happened. A tight photo of a cracked taillight is more useful when paired with a wider view showing the entire rear corner.
This matters because repair estimates often depend on more than the most obvious dent. A bumper cover may look lightly scuffed while brackets, sensors, paint, clips, or lighting components behind it are damaged. Photos taken immediately can also help separate fresh crash damage from older rust, faded scratches, or previous dents. For example, clean cracked paint and loose plastic may tell a different story than an older dent with dirt already settled into it.
Damage on Every Other Vehicle
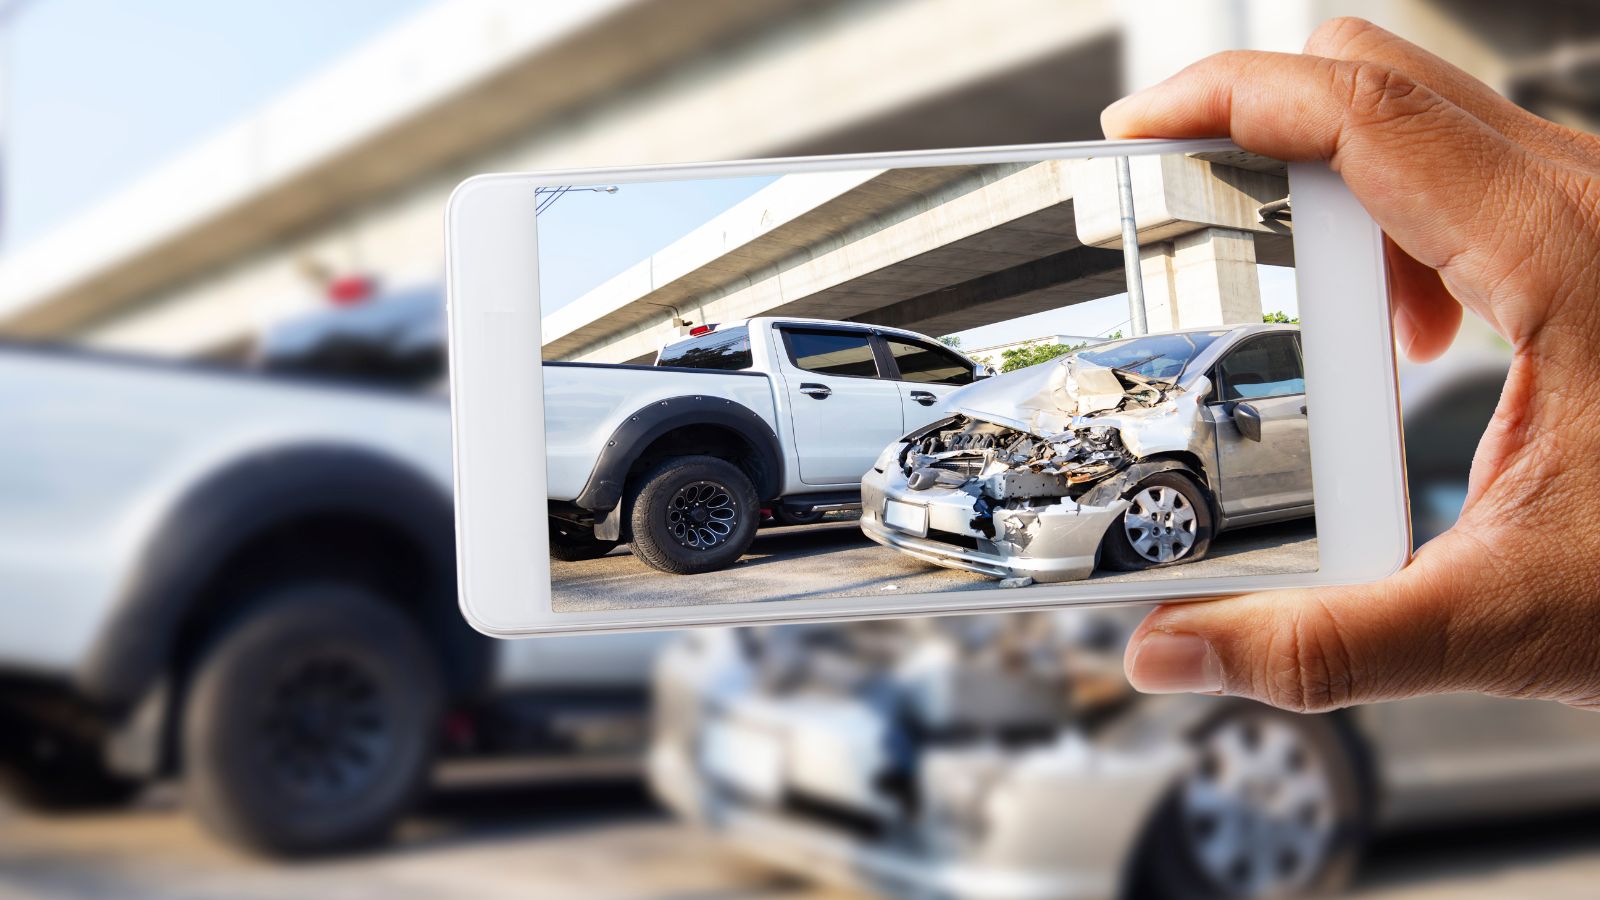
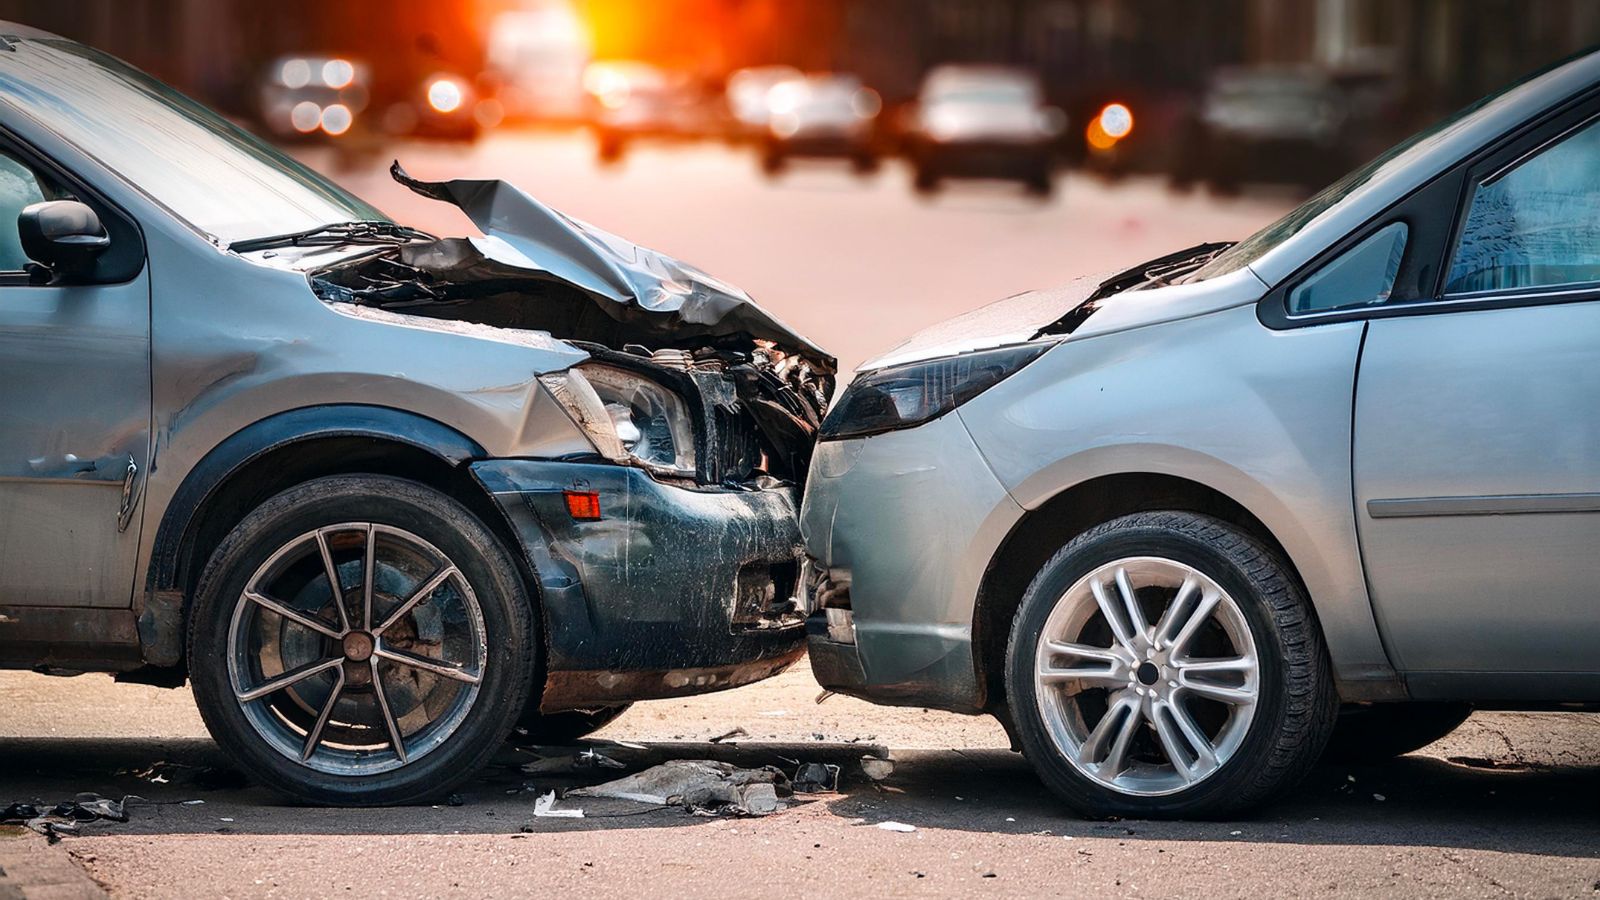
Photographing only one vehicle leaves gaps in the story. Every involved vehicle should be captured from the front, rear, sides, corners, and damaged areas. These images help show whether the damage patterns match the reported impact. A rear bumper dent on one car and a front grille imprint on another may support a straightforward rear-end collision, while mismatched damage may raise questions.
Other-vehicle photos can also protect against later exaggeration or confusion. A small scrape can become a much larger repair discussion after a vehicle leaves the scene, enters a shop, or suffers unrelated damage. A calm, complete set of images makes it easier for adjusters to compare all vehicles involved. This is especially useful in multi-car crashes, where the first impact and second impact may involve different vehicles and different types of damage.
License Plates on All Involved Vehicles
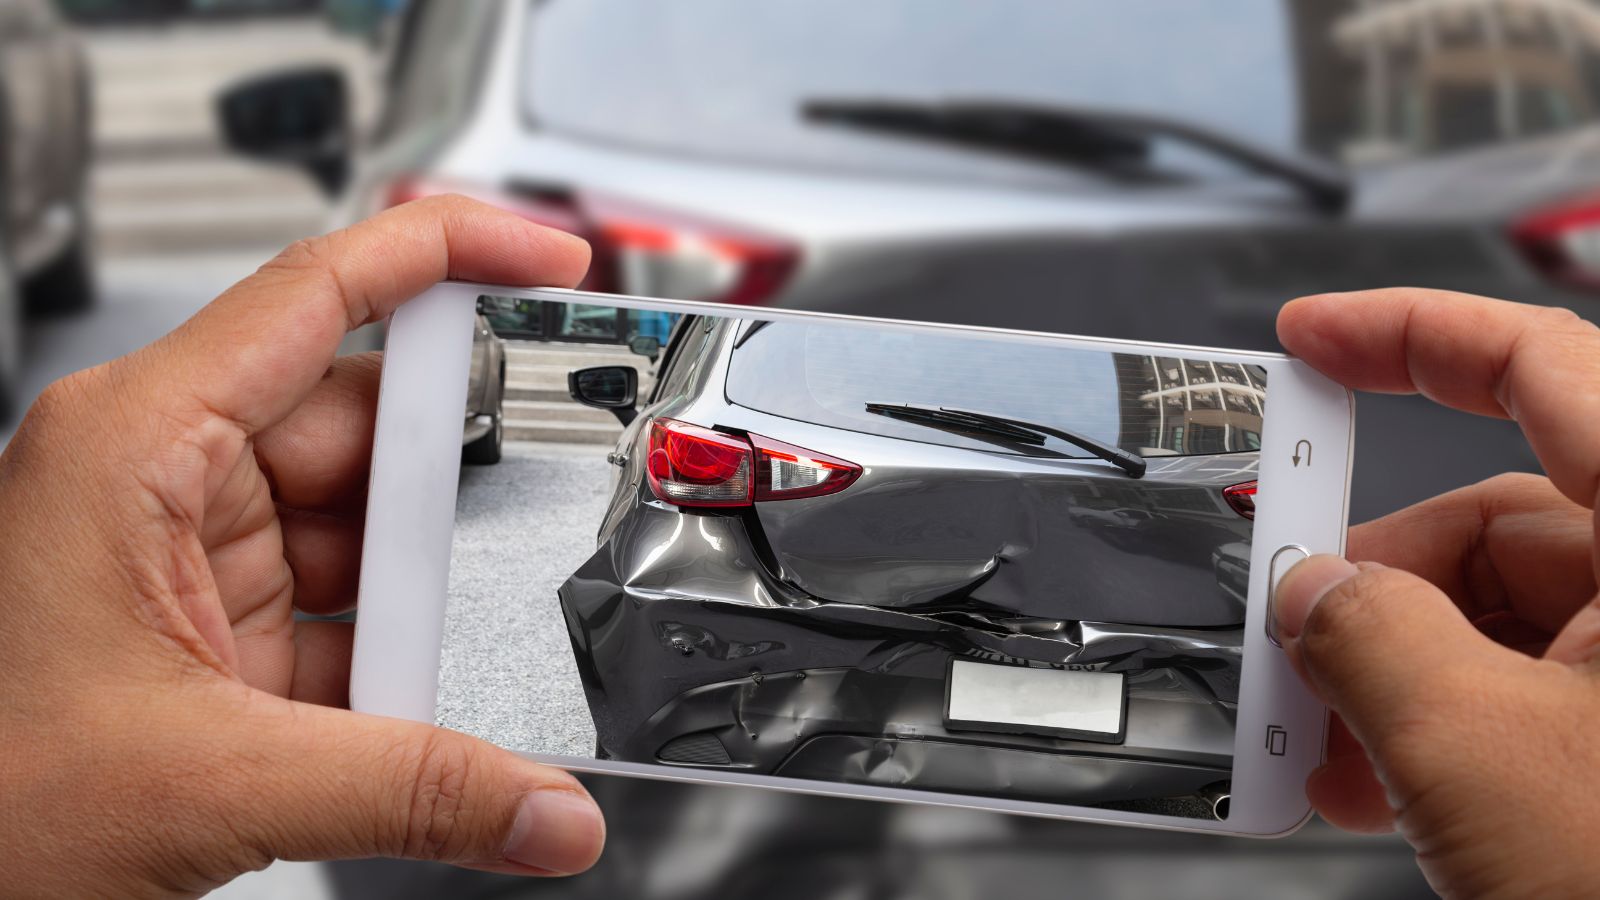
License plates are simple, but they are easy to forget in a stressful moment. Photograph the rear and, where applicable, front plates of every involved vehicle. Make sure the plate is readable and includes the full vehicle in at least one image. A close-up of a plate helps avoid transcription errors, while a wider shot connects that plate to the specific vehicle at the scene.
This step becomes especially important when vehicles are similar, rental cars are involved, or one driver leaves before all details are exchanged. In a parking-lot crash, for example, a plate photo may be the clearest link between the damaged vehicle and the person involved. If a plate is missing, obstructed, temporary, damaged, or from another jurisdiction, photograph that too. The absence or condition of a plate can become part of the record.
Driver, Insurance, and Registration Details
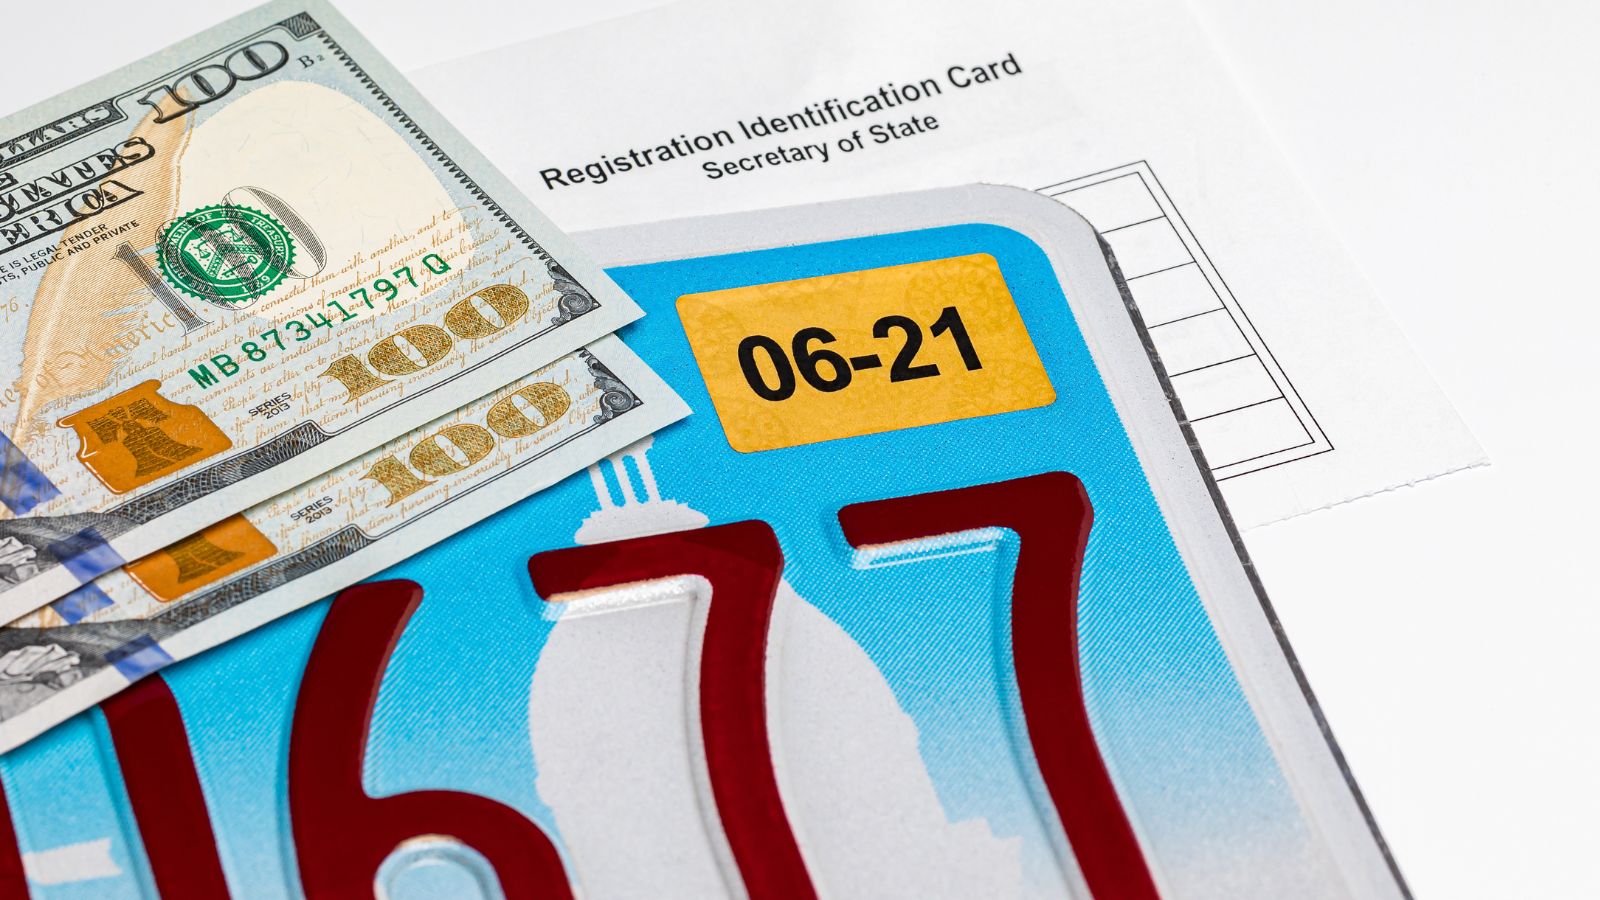
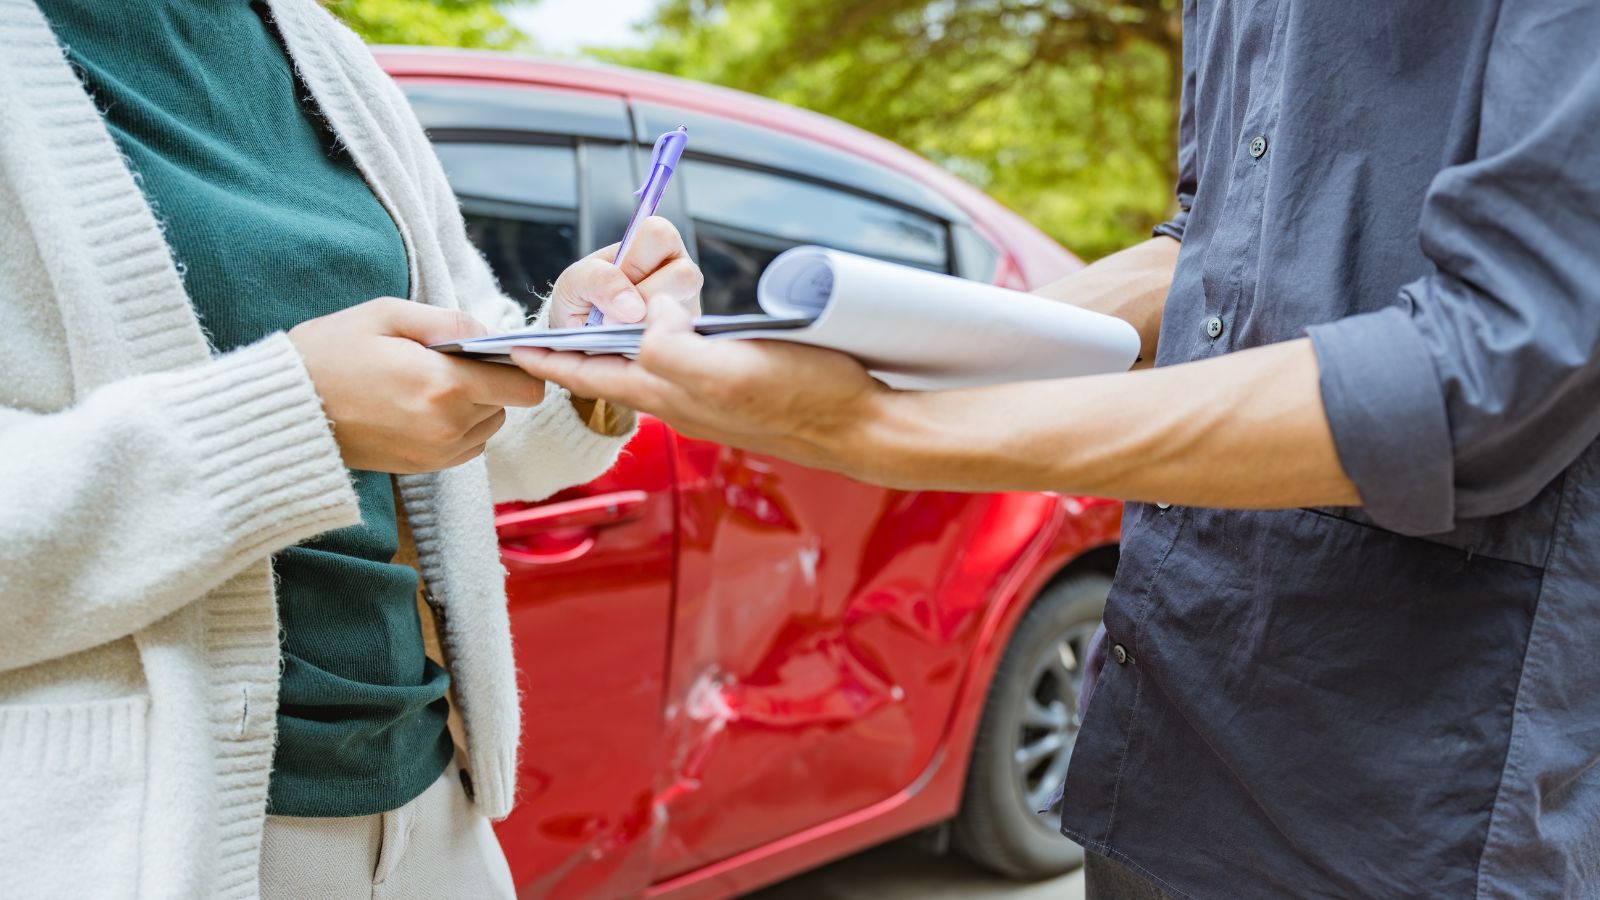
Important documents can be photographed carefully, but only the necessary information should be collected and shared. Useful images may include proof of insurance, registration, and driver information when the other person agrees and local rules allow it. The photo should be clear enough to read, not blurry or cut off at the edges. It is also wise to confirm the information by reading it before leaving the scene.
At the same time, drivers should avoid casually sharing more personal information than required. Some insurance regulators warn that unnecessary document sharing can create privacy or identity-fraud risks. A practical approach is to collect what is needed for the claim and police report, avoid posting anything publicly, and store the images securely. In a stressful roadside exchange, a clear photo can prevent mistakes, but restraint is still important.
Traffic Signs, Signals, and Lane Markings
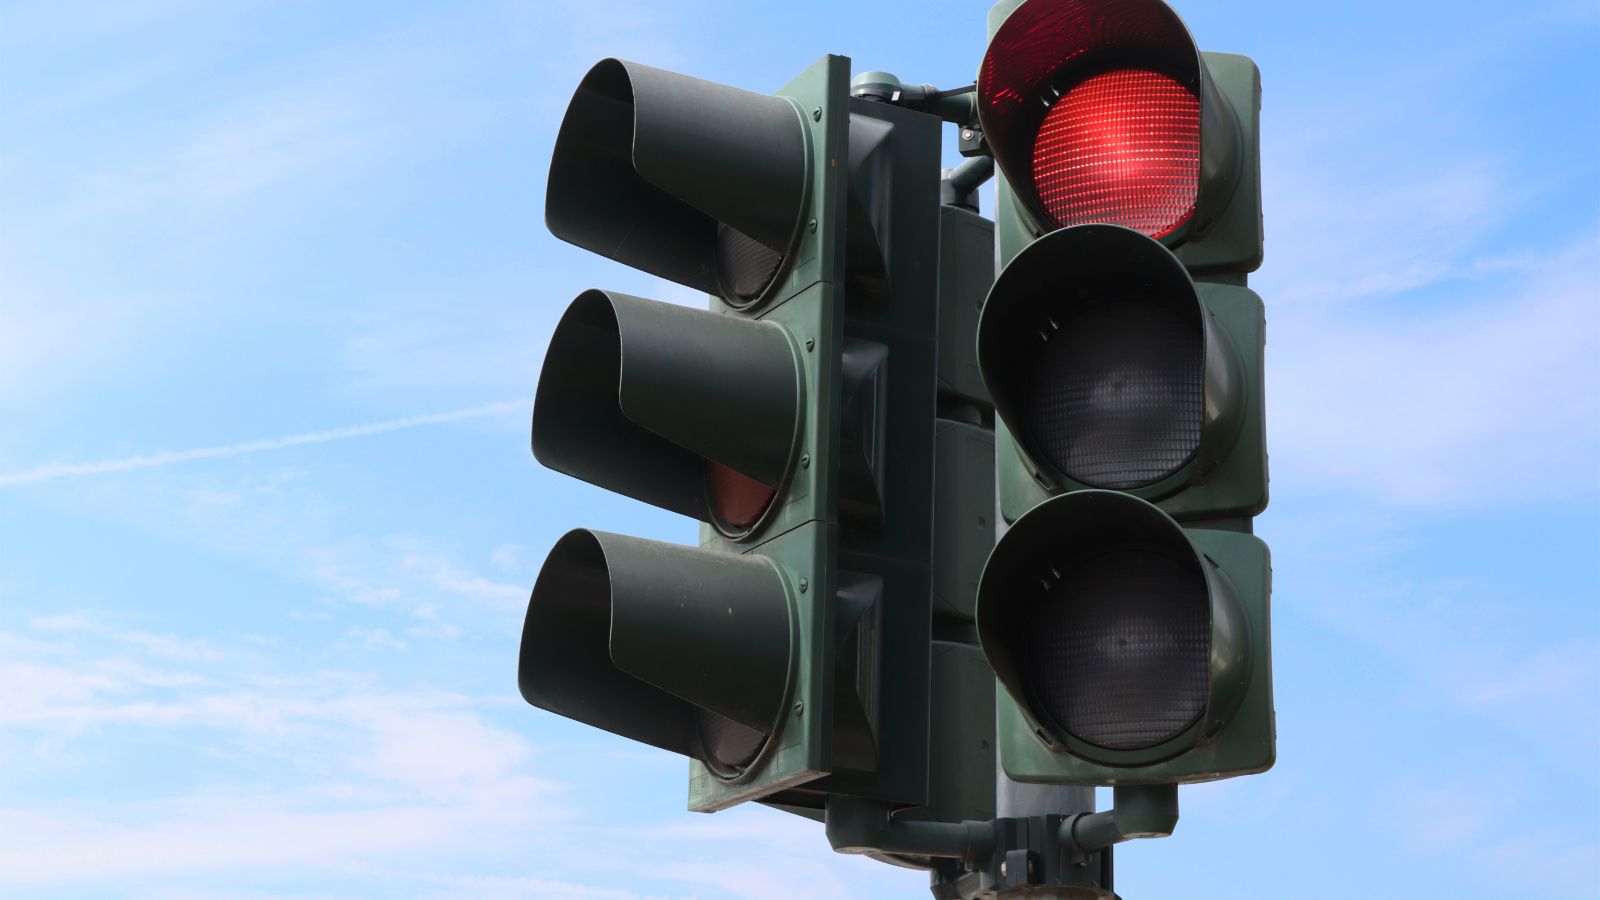
Traffic controls often explain what each driver was supposed to do. Photograph stop signs, yield signs, traffic lights, turn arrows, one-way signs, speed-limit signs, crosswalks, bike lanes, bus lanes, and lane markings. If the crash happened near a signal, take photos from the approach direction each driver would have seen. A photo of a green light after the crash does not prove what the light showed during impact, but it can still document the intersection layout.
Lane markings are especially important in merging, turning, and sideswipe crashes. A worn lane line, confusing construction marking, or blocked sign may help explain why two drivers interpreted the road differently. For example, a crash near a faded turn-only arrow can look different from a simple lane-change collision. Photos give adjusters and investigators a way to understand the road design without relying only on memory.
Skid Marks, Tire Tracks, and Gouges
Tire marks and road gouges can disappear quickly under traffic, rain, snow, cleanup, or darkness. Photograph skid marks, tire impressions, scrape marks, gouges, and any path that seems connected to the collision. Include a wide shot showing where the marks sit in relation to the vehicles, then take closer images from safe angles. If possible, capture where the marks begin and where they end.
These details can suggest braking, sliding, impact movement, or the direction a vehicle travelled after contact. They are not always easy for a layperson to interpret, and not every crash leaves visible marks. Still, photos can preserve information for people trained to evaluate it later. In a winter crash, for example, tire paths through slush may be gone once traffic resumes or a plow passes through the area.
Debris Fields and Fluid Spills
Broken plastic, glass, trim pieces, metal fragments, and fluid spills can help show where the impact occurred. Photograph debris from a distance first, then take closer shots of key pieces. A headlight lens on the road, a broken mirror cover, or scattered bumper clips may mark the point of contact better than the final resting place of the vehicles. These items are often swept away quickly.
Fluid spills are also worth documenting from a safe distance. Oil, coolant, washer fluid, transmission fluid, or fuel-like liquids may suggest mechanical damage that is not obvious from the outside. No one should touch or stand near suspicious fluids, especially if there is a smell of fuel or the vehicle is still running. A photo can help a repair shop or insurer understand that the crash may have caused more than cosmetic damage.
Road Surface Conditions
The road surface can be a major part of the story. Photograph ice, snow, standing water, mud, gravel, potholes, uneven pavement, construction plates, loose shoulder material, or fresh road repairs. Include a wide view that shows how far the condition extends and where it sits relative to the collision. A close-up of a pothole is helpful, but a wider image showing it in the travel lane is stronger.
Surface conditions can change fast. Rain drains, snow melts, sand gets spread, and traffic breaks up ice. A driver who slid through an intersection may later need to show that the pavement was slick at the time, not merely damp hours later. For example, a patch of black ice near a shaded bridge can vanish once the sun moves. Early photos can preserve the condition before it disappears.
Weather, Lighting, and Visibility
Weather and lighting deserve their own photos because they affect visibility, stopping distance, and driver perception. Capture rain, fog, snow, glare, darkness, wet pavement, blowing leaves, low sun, or poor street lighting. Include the sky, headlights, streetlights, and any reflections on the road. In a dusk collision, the difference between “still daylight” and “nearly dark” can matter.
Visibility photos are most useful when they show what drivers could actually see. A windshield view from a safe parked position can document glare, fogged glass, heavy rain, or sightline limits. A photo of a dark rural road may show the absence of lighting around a driveway or curve. These details should not be used to guess fault on the spot, but they can help explain the conditions surrounding the crash.
Obstructions and Blind Spots
Obstructions can turn an ordinary intersection or driveway into a confusing scene. Photograph parked vehicles, delivery trucks, snowbanks, hedges, signs, utility poles, construction fencing, dumpsters, buildings, or anything blocking sightlines. Take the photo from the approximate viewpoint of the driver, cyclist, pedestrian, or turning vehicle when it is safe. This can show why someone may not have seen approaching traffic.
Blind-spot photos are especially useful in parking lots, alleys, and right-turn crashes. A large van parked near a stop sign, for example, may block the view of oncoming traffic until a vehicle noses forward. A photo can also show whether a traffic sign was hidden by branches or construction equipment. The goal is to document the environment as it existed, not to argue at the scene.
Exact Location Markers
Location photos prevent confusion later, especially on long roads, ramps, rural routes, or large parking lots. Photograph street signs, mile markers, exit numbers, building numbers, nearby businesses, parking lot row signs, bridge names, or recognizable landmarks. A photo of a map app screenshot can also help, but visible location markers in the scene create a stronger visual record.
Exact location matters because reports and claims often require more than a general area. “Near the mall” may not be enough when the crash occurred at a specific driveway, service lane, or entrance. In a large apartment complex or shopping centre, two entrances can look almost identical. Capturing the nearest sign, storefront, or intersection helps place the collision accurately and reduces later uncertainty.
Visible Injuries and Medical Context
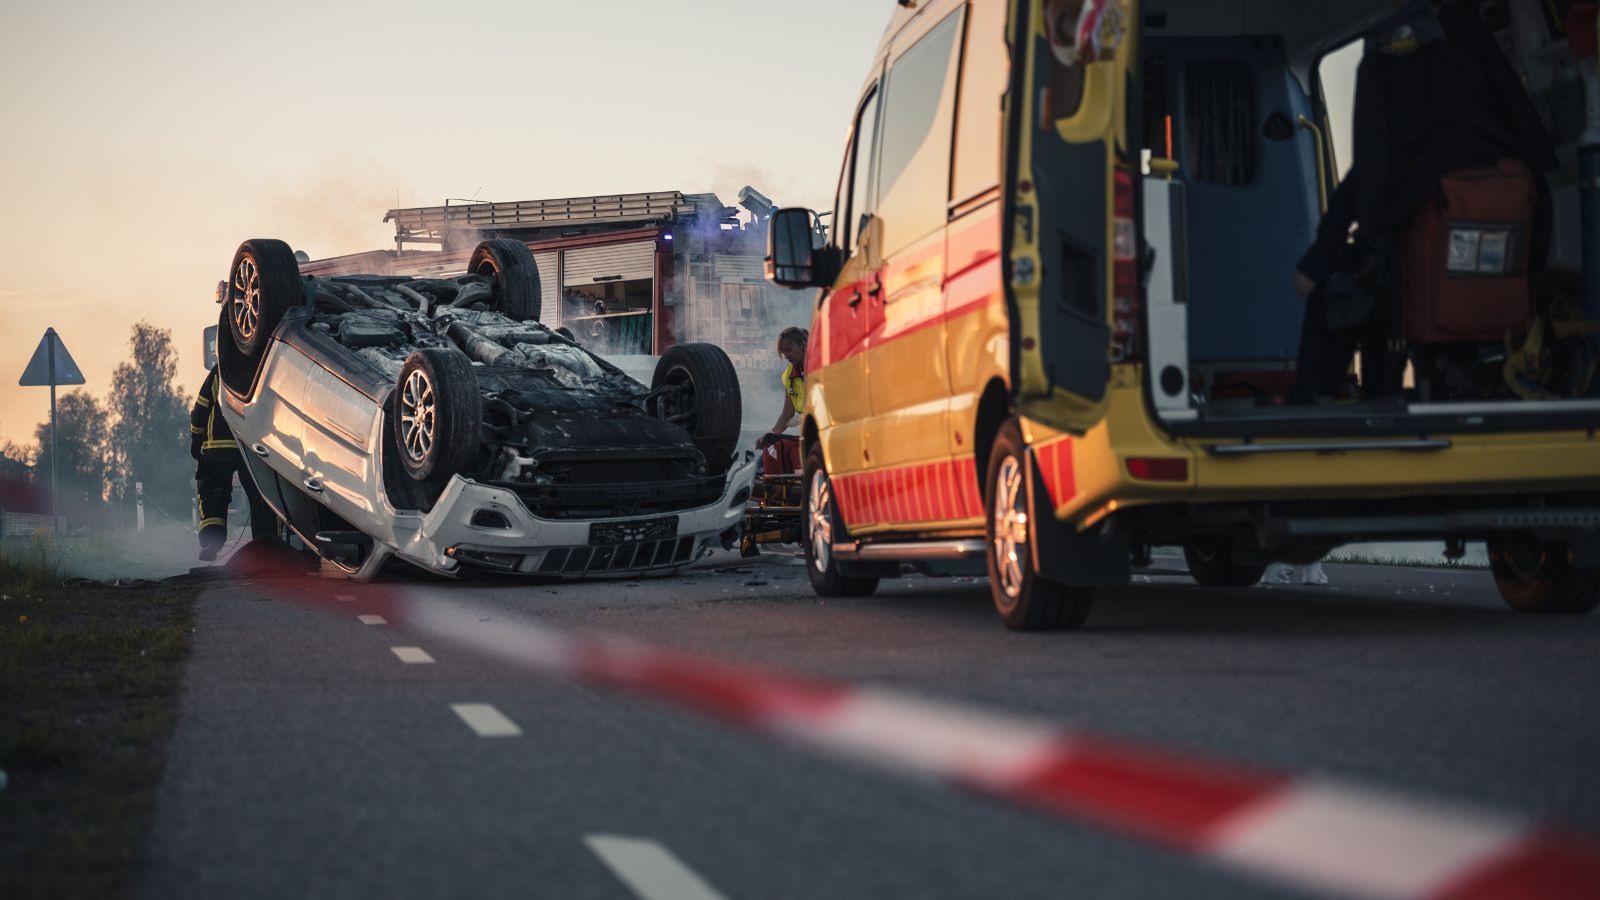
Visible injuries should be photographed only after medical needs are handled and with respect for privacy. Bruising, cuts, swelling, abrasions, torn clothing, or marks from a seatbelt may be relevant to an injury claim. If someone is seriously injured, taking photos should never delay emergency care. The priority is calling emergency services, staying safe, and following instructions from responders.
Some injuries are not obvious right away, while others change appearance over hours or days. A bruise may darken later, and swelling may become more visible after the initial adrenaline fades. A careful photo record can help connect visible injuries to the crash timeline. For example, a seatbelt bruise across the shoulder may support the description of a sudden stop, while a scraped knee may be relevant in a pedestrian or cyclist collision.
Airbags, Seatbelts, and Interior Impact Points
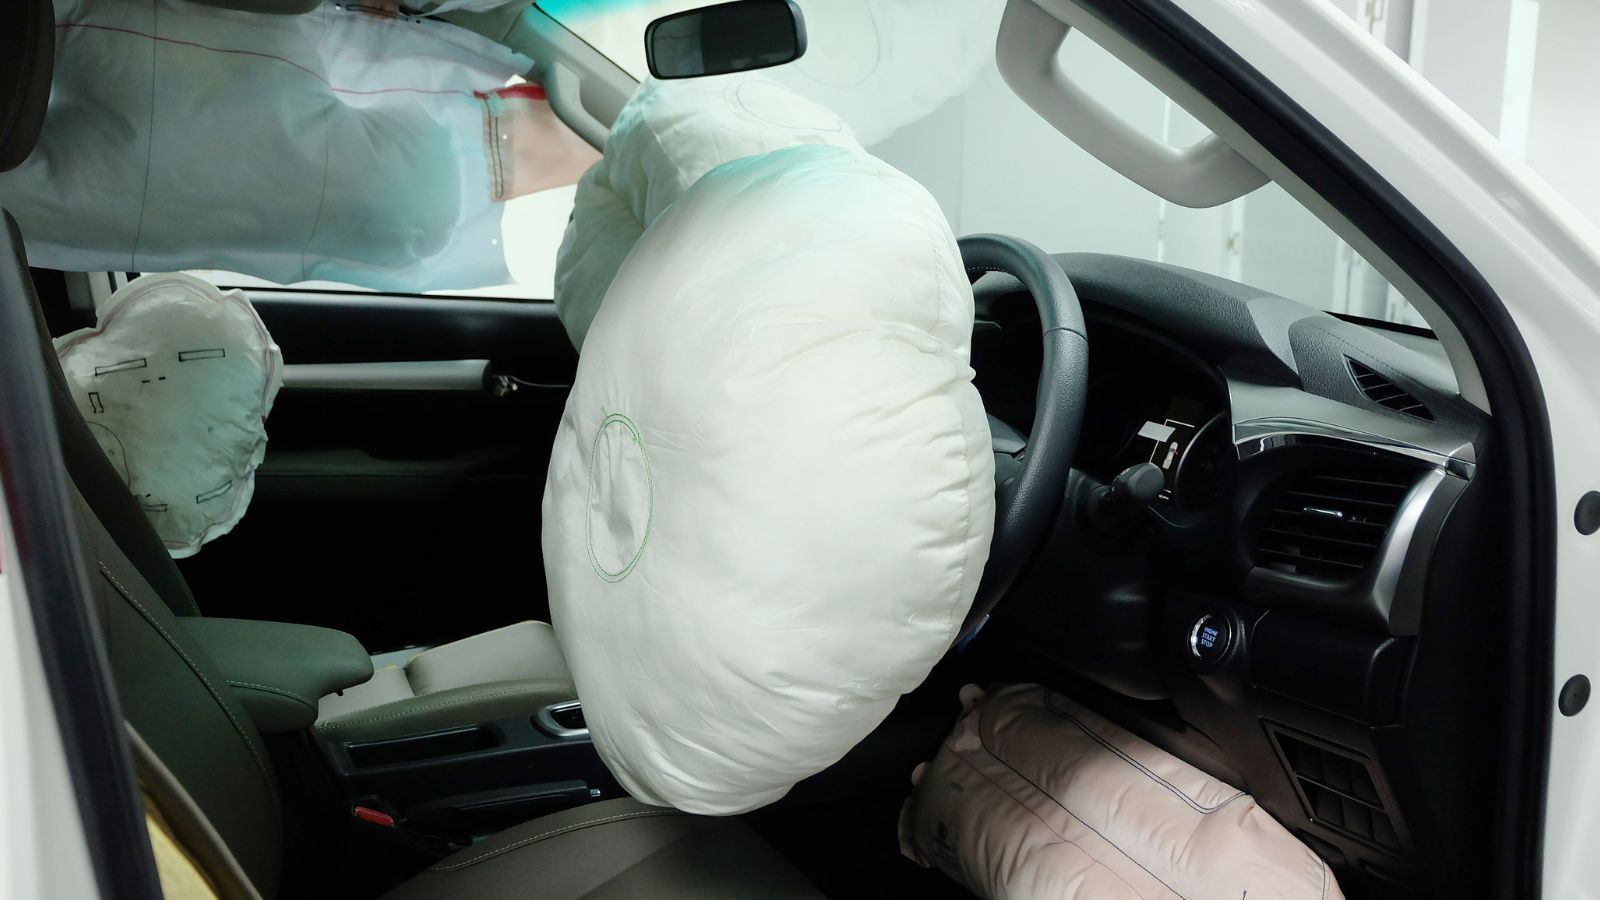
Interior photos can show how severe the crash felt inside the vehicle. Photograph deployed airbags, locked seatbelts, pretensioner marks, cracked interior panels, broken glass inside the cabin, displaced seats, damaged child-seat anchors, and loose objects thrown forward. If the vehicle is safe to approach, include wide shots of the front cabin and close-ups of specific damage.
These images may help explain injuries or hidden vehicle damage. A dashboard knee impact mark, a cracked windshield from inside contact, or an airbag deployment can give context that exterior photos alone miss. Interior photos can also help repair professionals identify affected systems. For example, an airbag deployment may mean the vehicle needs restraint-system inspections beyond ordinary body repair. Do not climb into an unstable vehicle or disturb evidence just to get a better angle.
Personal Belongings and Cargo Damage
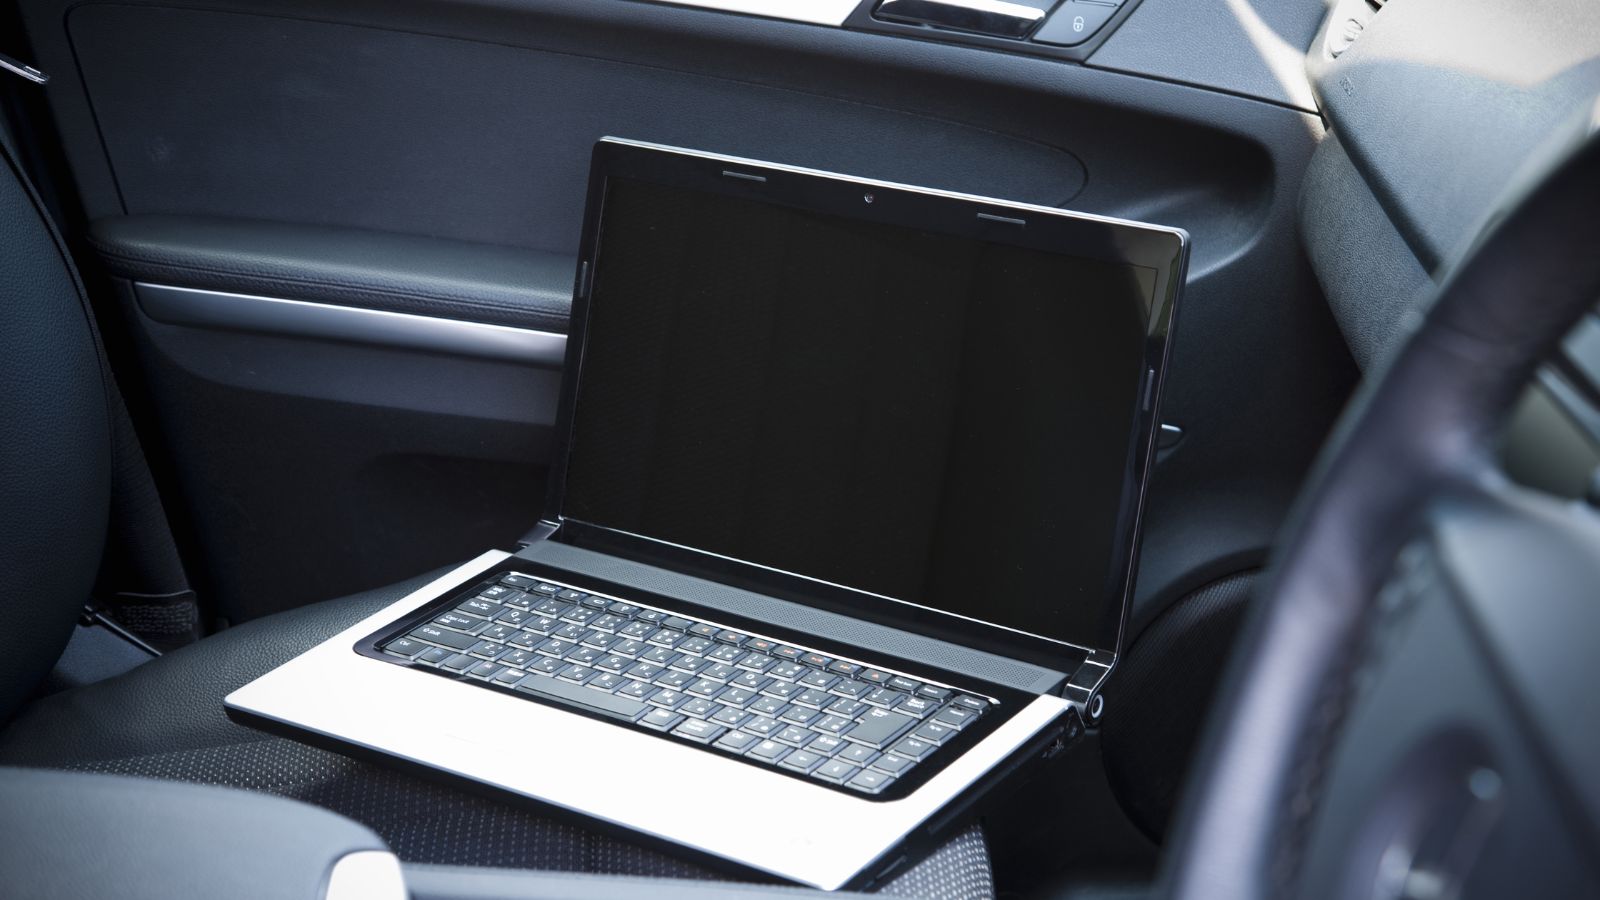
Accidents can damage more than vehicles. Photograph broken phones, laptops, eyeglasses, tools, child gear, work equipment, luggage, groceries, sports equipment, or cargo that was thrown, crushed, or contaminated. Place the item in context when possible by showing where it ended up in the vehicle or roadway. A close-up of a shattered laptop is useful, but its location in the footwell or trunk may add meaning.
This can matter for reimbursement, repair, replacement, or proof of loss. A rideshare driver with damaged equipment, a tradesperson with broken tools, or a parent with a damaged stroller may face costs beyond bumper repair. Personal items should be photographed before being discarded or cleaned up, especially if fluids, broken glass, or weather have affected them. Keeping receipts later can help, but early photos show the condition immediately after the crash.
Damage to Guardrails, Fences, Poles, or Curbs
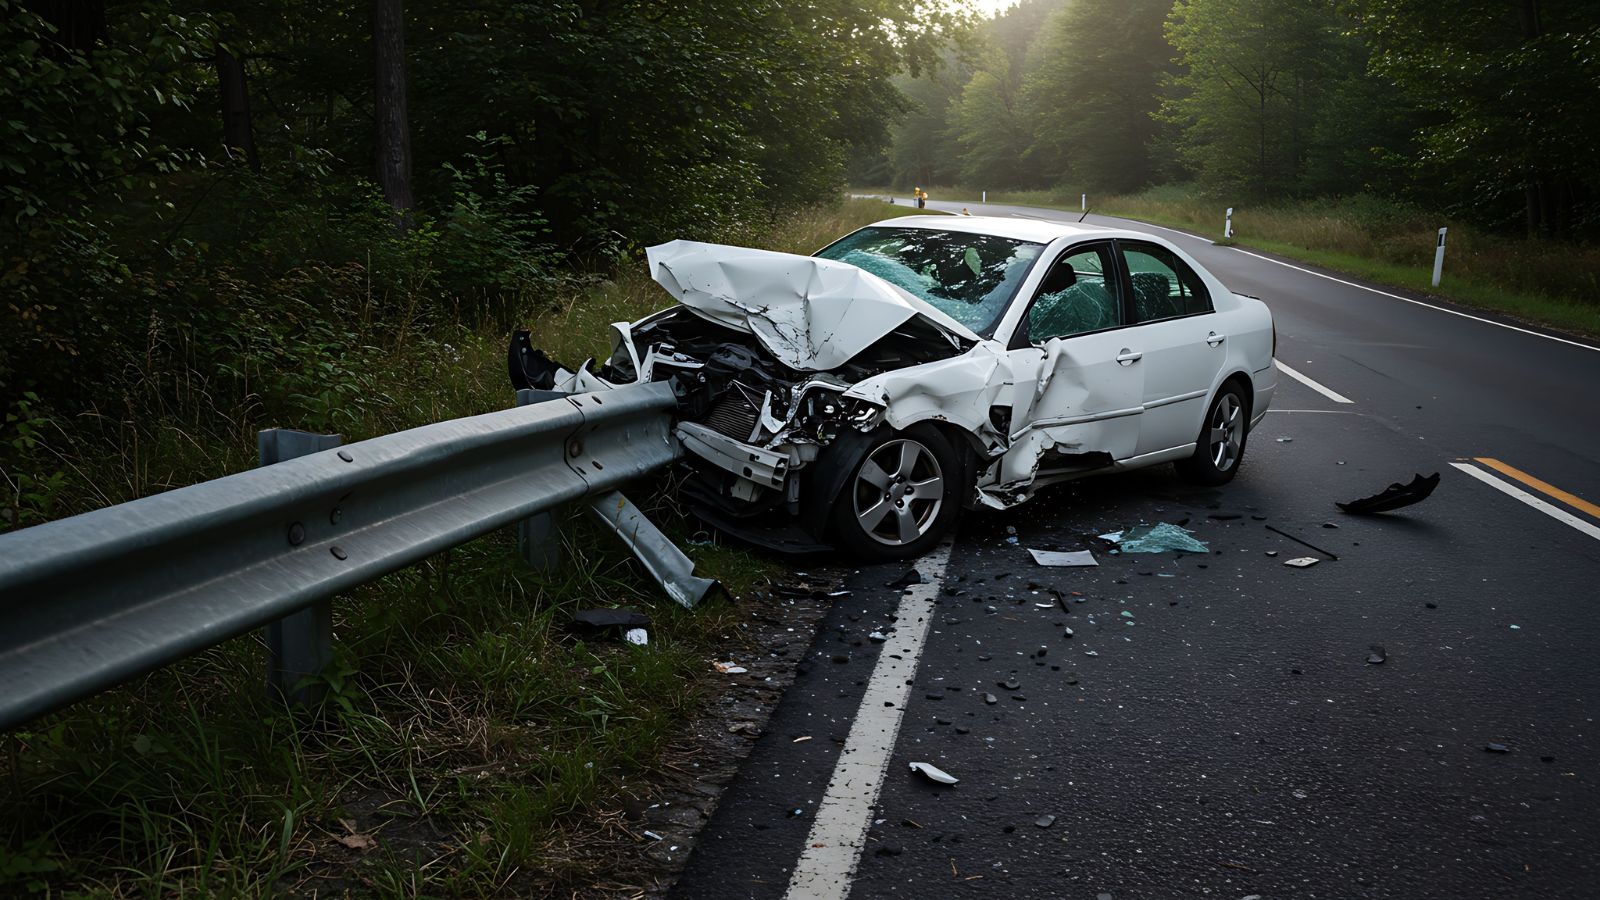
Not all crash damage is on vehicles. Photograph damaged guardrails, signs, poles, fences, walls, mailboxes, landscaping, curbs, hydrants, buildings, or parking barriers. Include both the damaged object and its relationship to the road or vehicles. This can help explain the path of travel, the force of impact, or whether a vehicle struck something after the initial collision.
Property damage can also create separate reporting, repair, or liability issues. A cracked utility pole, bent signpost, or damaged storefront may involve a municipality, business, property owner, or utility provider. Even a curb strike can matter if it caused wheel, suspension, or tire damage. For example, a vehicle pushed into a curb during a side impact may later show alignment problems that are not visible in the first bumper photos.
Passengers, Witness Notes, and Officer Details
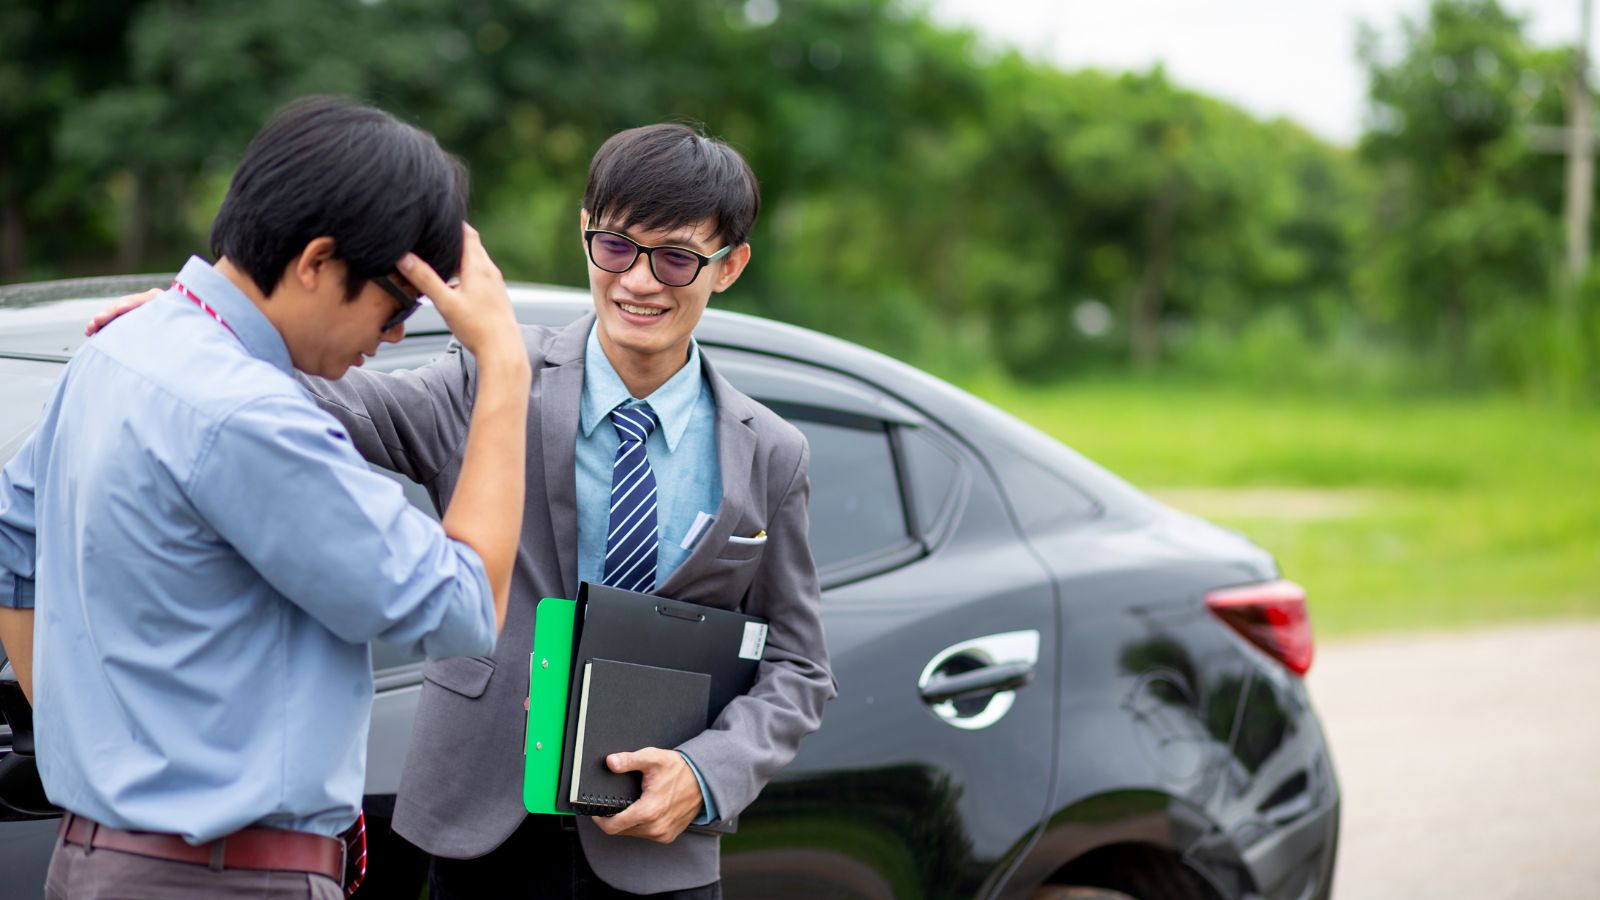
People at the scene can be hard to track down later, so record identifying details carefully and respectfully. Photograph handwritten witness notes, business cards, officer cards, badge numbers, report numbers, or any official slip provided at the scene. Avoid taking intrusive photos of bystanders or injured people without a clear reason and consent. The most useful record is usually contact information, not faces.
Witnesses can become important when drivers disagree about speed, signals, lane changes, or who entered an intersection first. A passerby may leave within minutes, assuming the drivers already have everything they need. If police attend, officer details and report instructions can help when requesting the report later. A quick photo of the officer’s card or incident number may prevent a frustrating search days afterward.
Towing, Dashboard Warnings, and Final Vehicle Condition
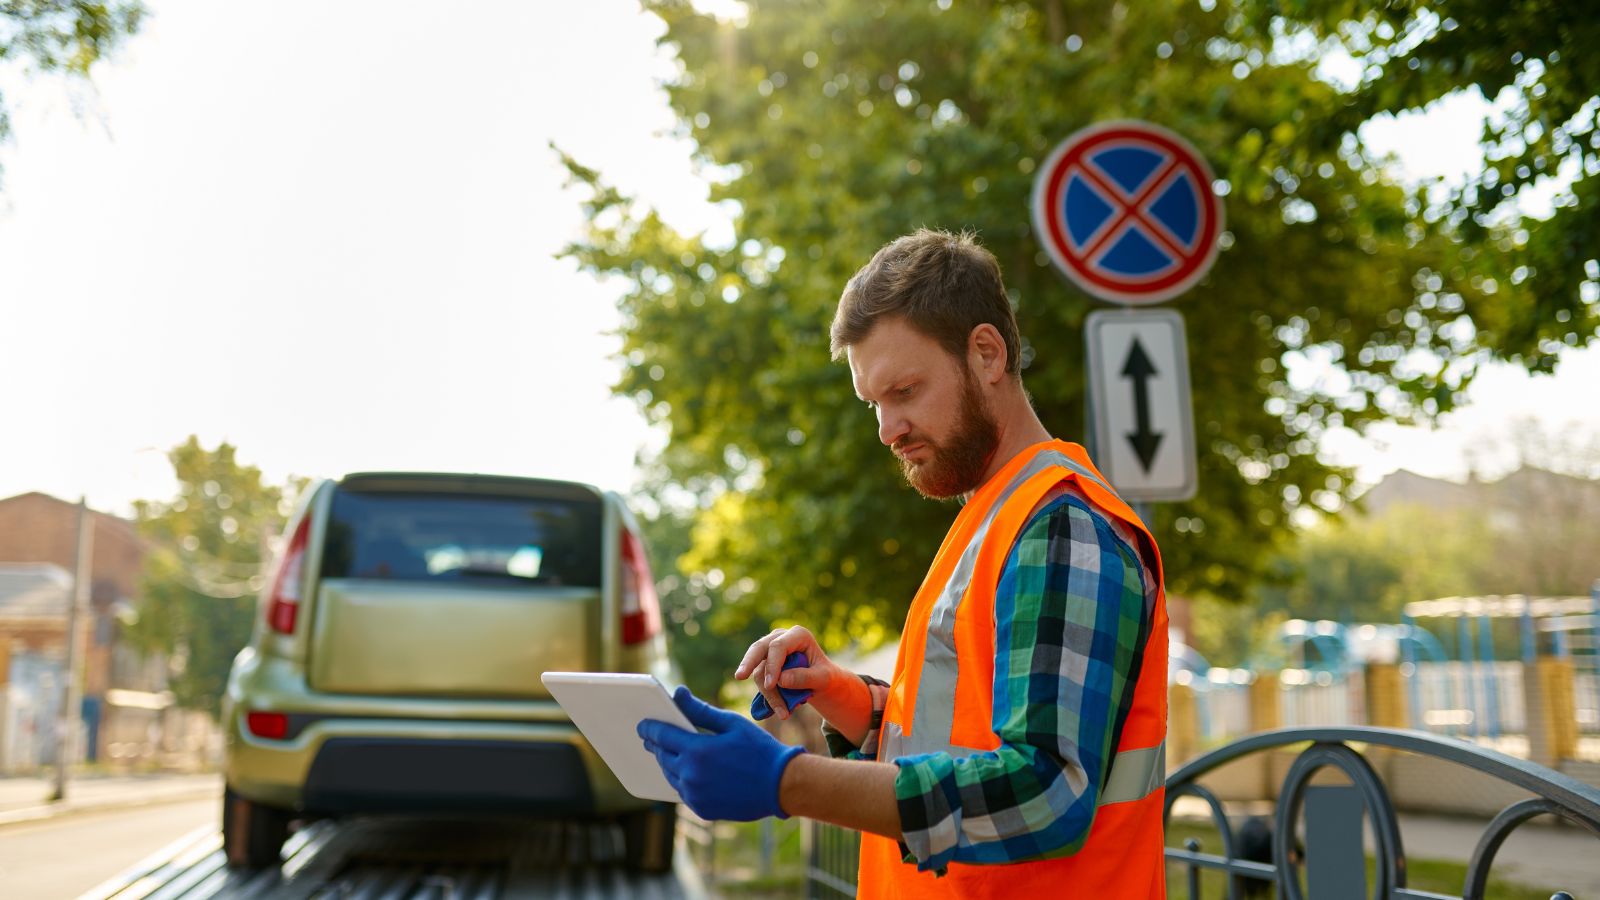
Before the vehicle leaves the scene, photograph its final condition. Capture dashboard warning lights, odometer reading, fluid warnings, airbag lights, tire-pressure alerts, gear position if visible, and any message screens. Then photograph the vehicle as it is loaded onto a tow truck or moved to a reporting centre or repair facility. This creates a record of what condition the vehicle was in before someone else handled it.
Towing and storage can introduce confusion if damage is later discovered. A photo showing a cracked wheel before loading, a loose bumper before transport, or a warning light immediately after the crash can help separate crash damage from later handling issues. It also helps owners remember which tow company took the vehicle and where it was headed. The final photos close the timeline from impact to handoff.
22 Things Canadians Do to Their Cars in Spring That Mechanics Hate
Spring brings relief to many Canadian drivers after months of snow, freezing temperatures, and icy roads that put serious strain on vehicles. As temperatures rise across the country, drivers begin washing cars, switching tires, and preparing vehicles for warmer weather and upcoming road trips. However, mechanics across Canada notice the same mistakes every spring when drivers attempt to recover from winter damage. Road salt, potholes, and harsh winter driving conditions often leave vehicles with hidden problems that drivers ignore. Some spring habits even create new mechanical issues that could have been avoided with proper maintenance. Here are 22 things Canadians do to their cars in spring that mechanics hate.